How to Upload a Screenshot to Gazoo
Screenshots are a great way to provide translators with additional context for the source strings in your projection and, as a effect, get more relevant and consistent translations. With screenshots, your team will be able to see which strings are used together on the same page, whether short texts correspond titles, buttons or something else, and more.
Tag source strings to the screenshots, so they are displayed in the Editor, where translators volition encounter them in the context department below the source string.
Upload Screenshots
To upload screenshots into your projection, follow these steps:
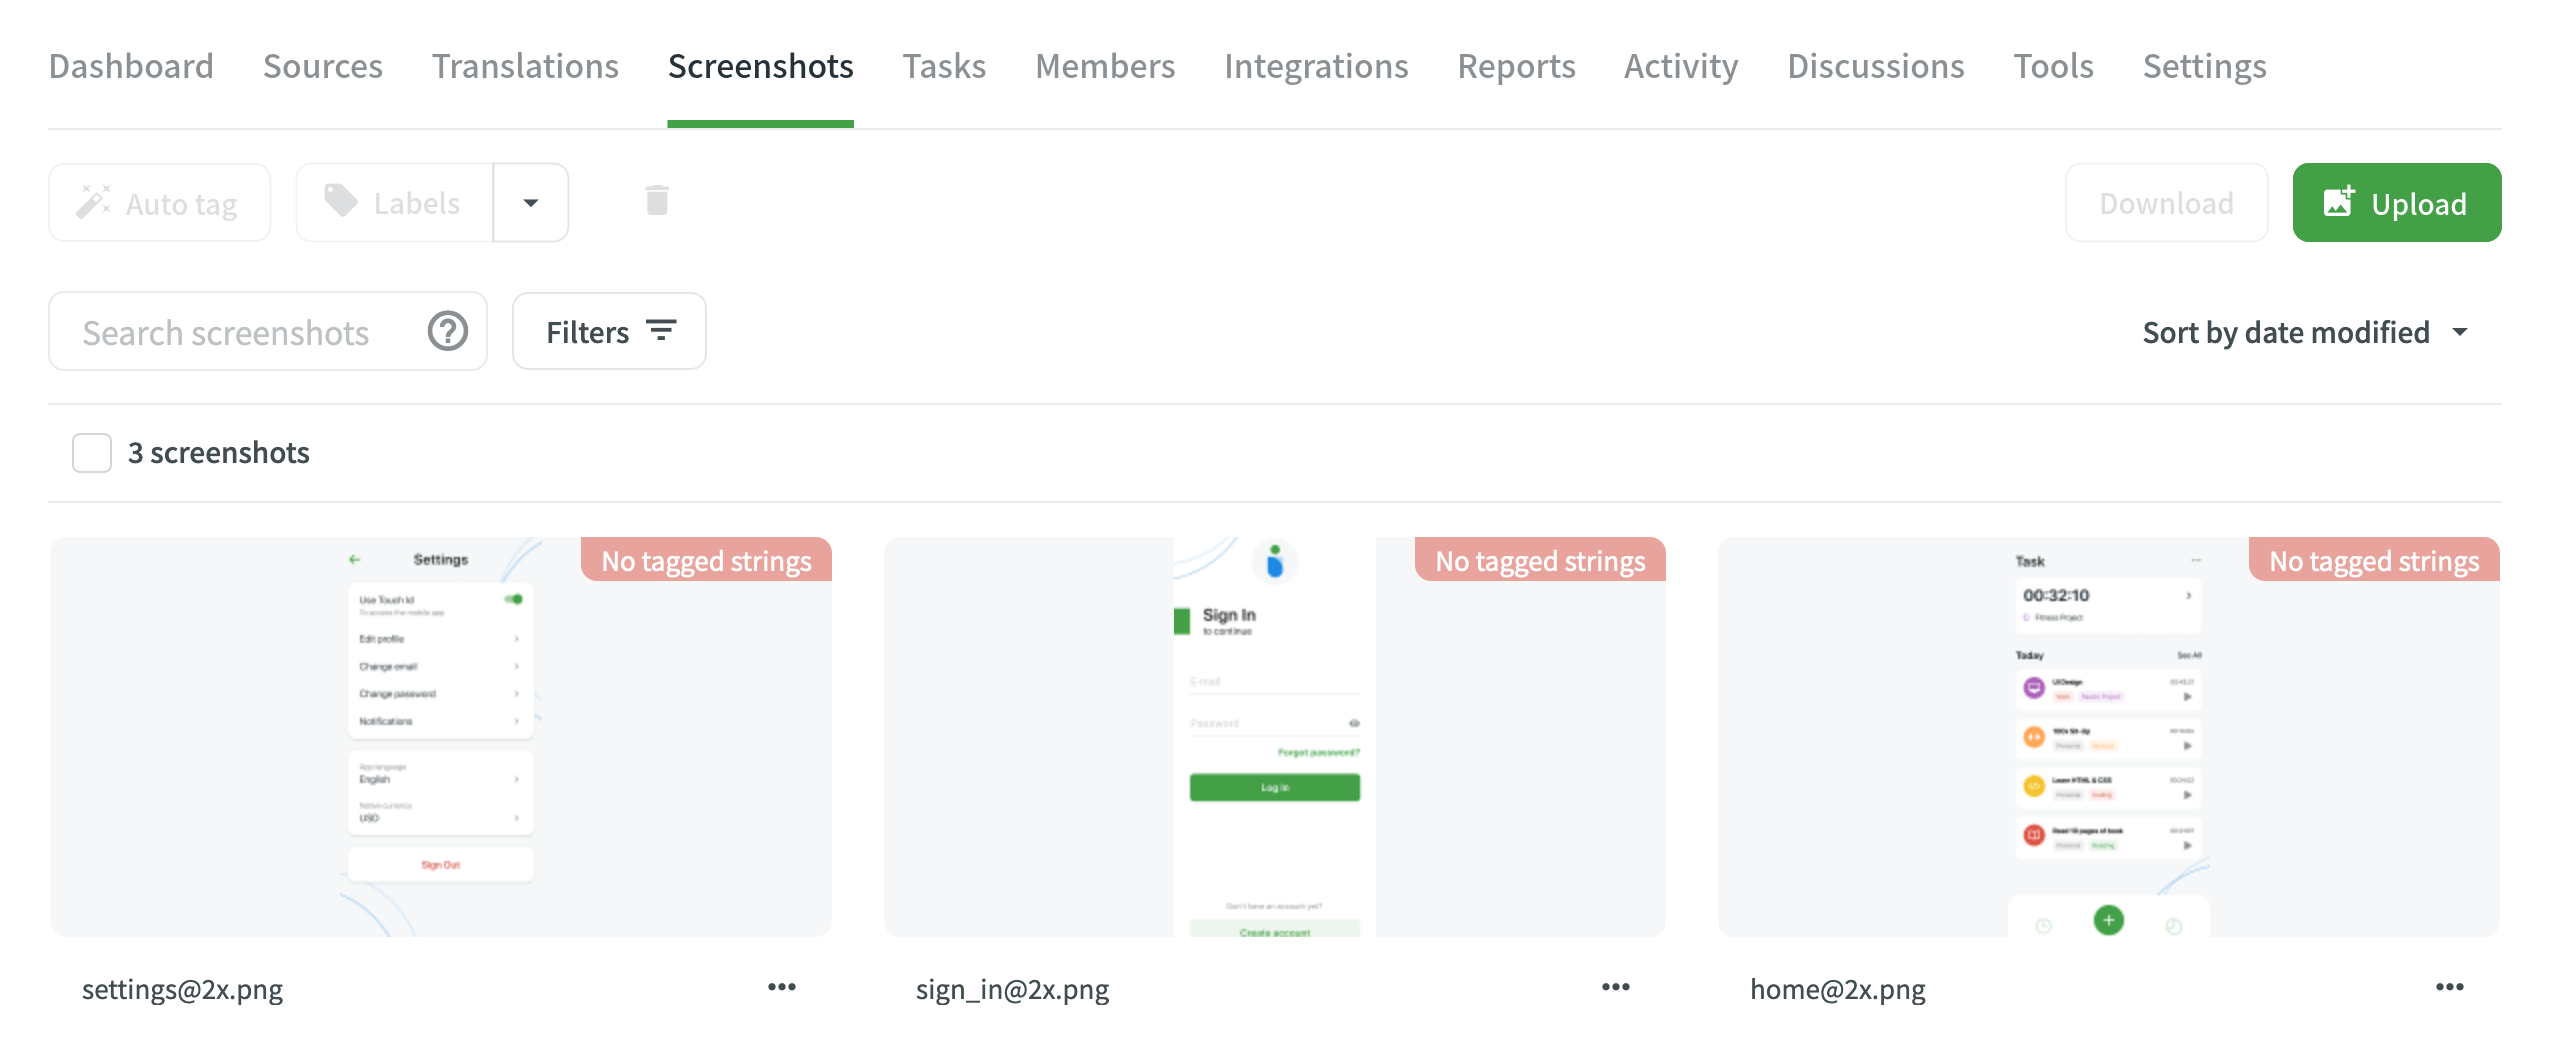
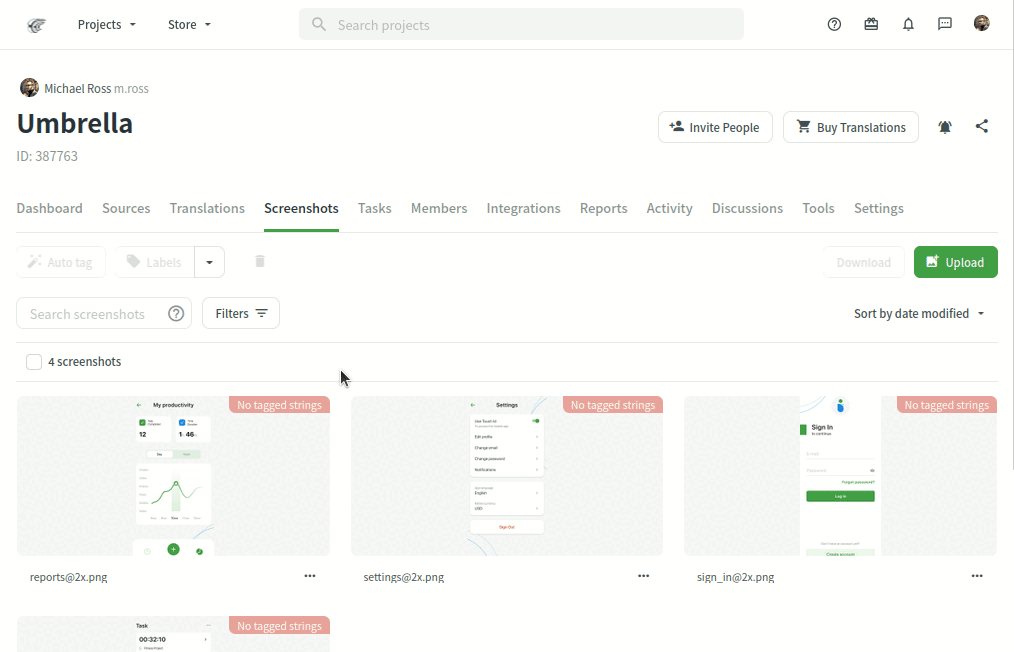
- Open your project and go to Content > Screenshots.
- Drag images from your car, or click Upload.
Note: To resize loftier-resolution images to fit your screen, add "@2x" or "@3x" at the stop of the filename.
Tag Strings
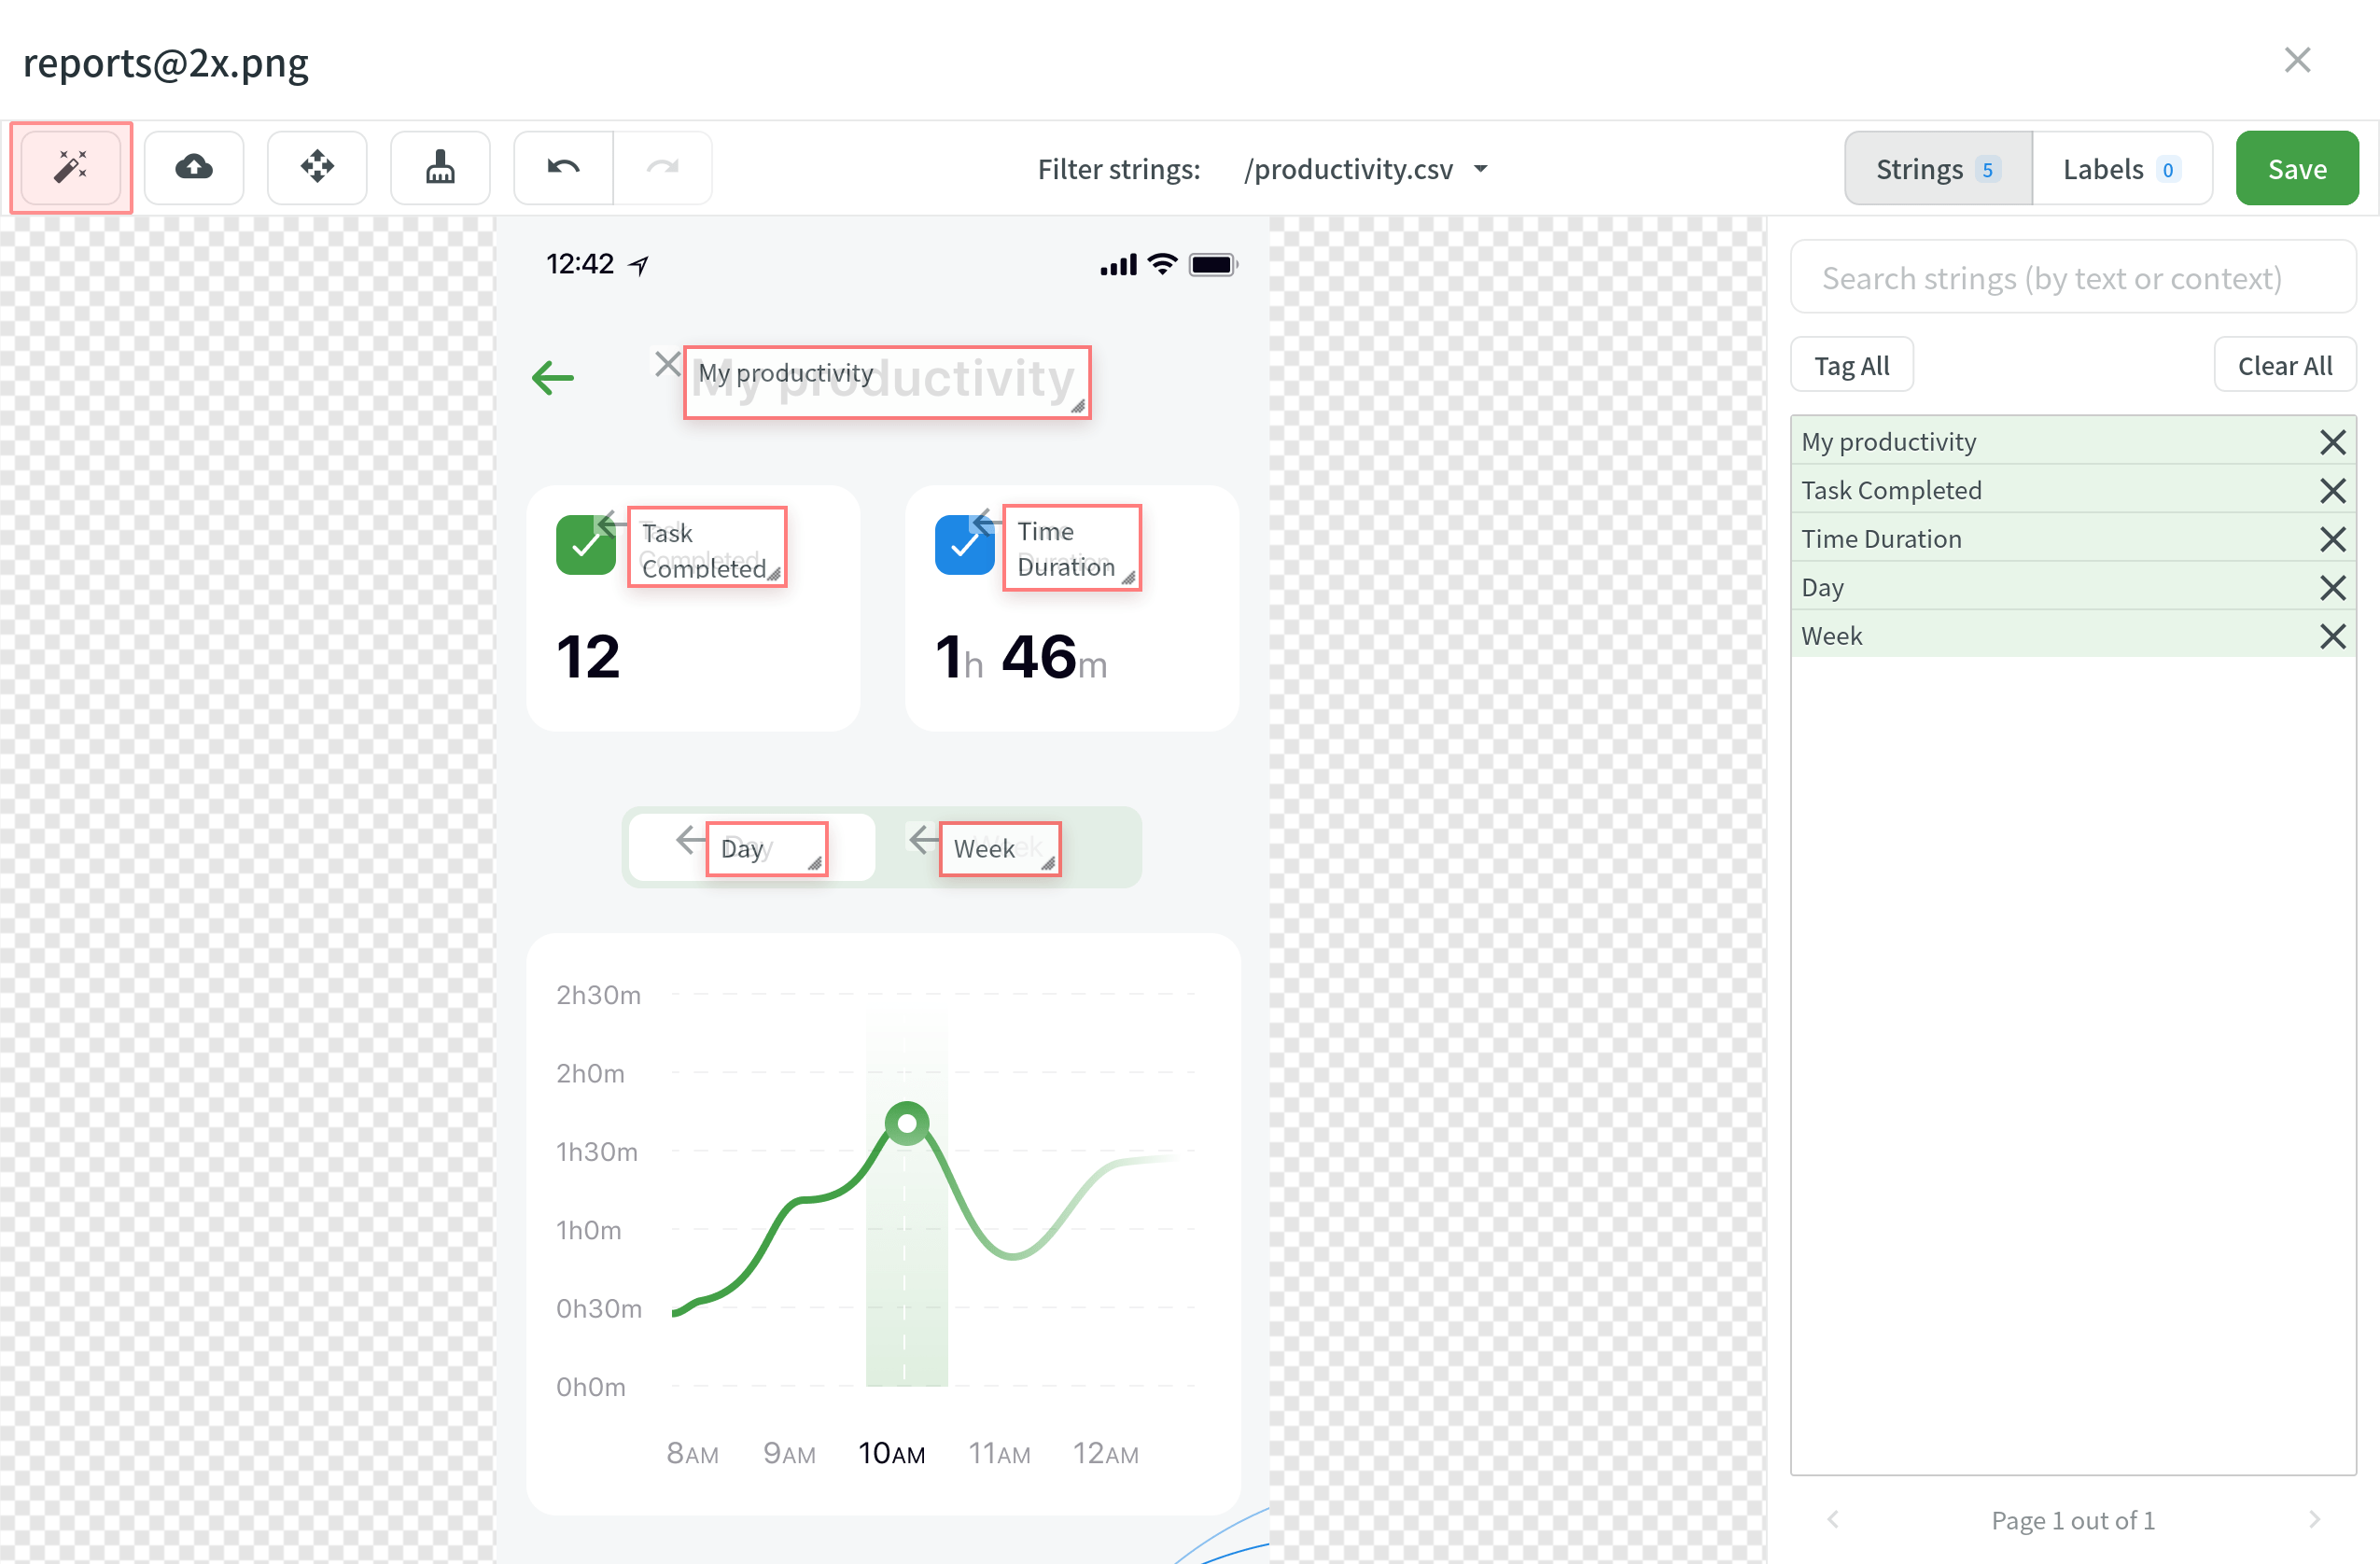
To bear witness translators where certain strings are located in the UI tag strings on the screenshots. In Crowdin, you tin tag strings using the following methods:
Tag Strings Automatically
Texts within an image will exist detected automatically. So the matching strings will be searched for among all the strings in the project. The ones found will be tagged on the screenshot.
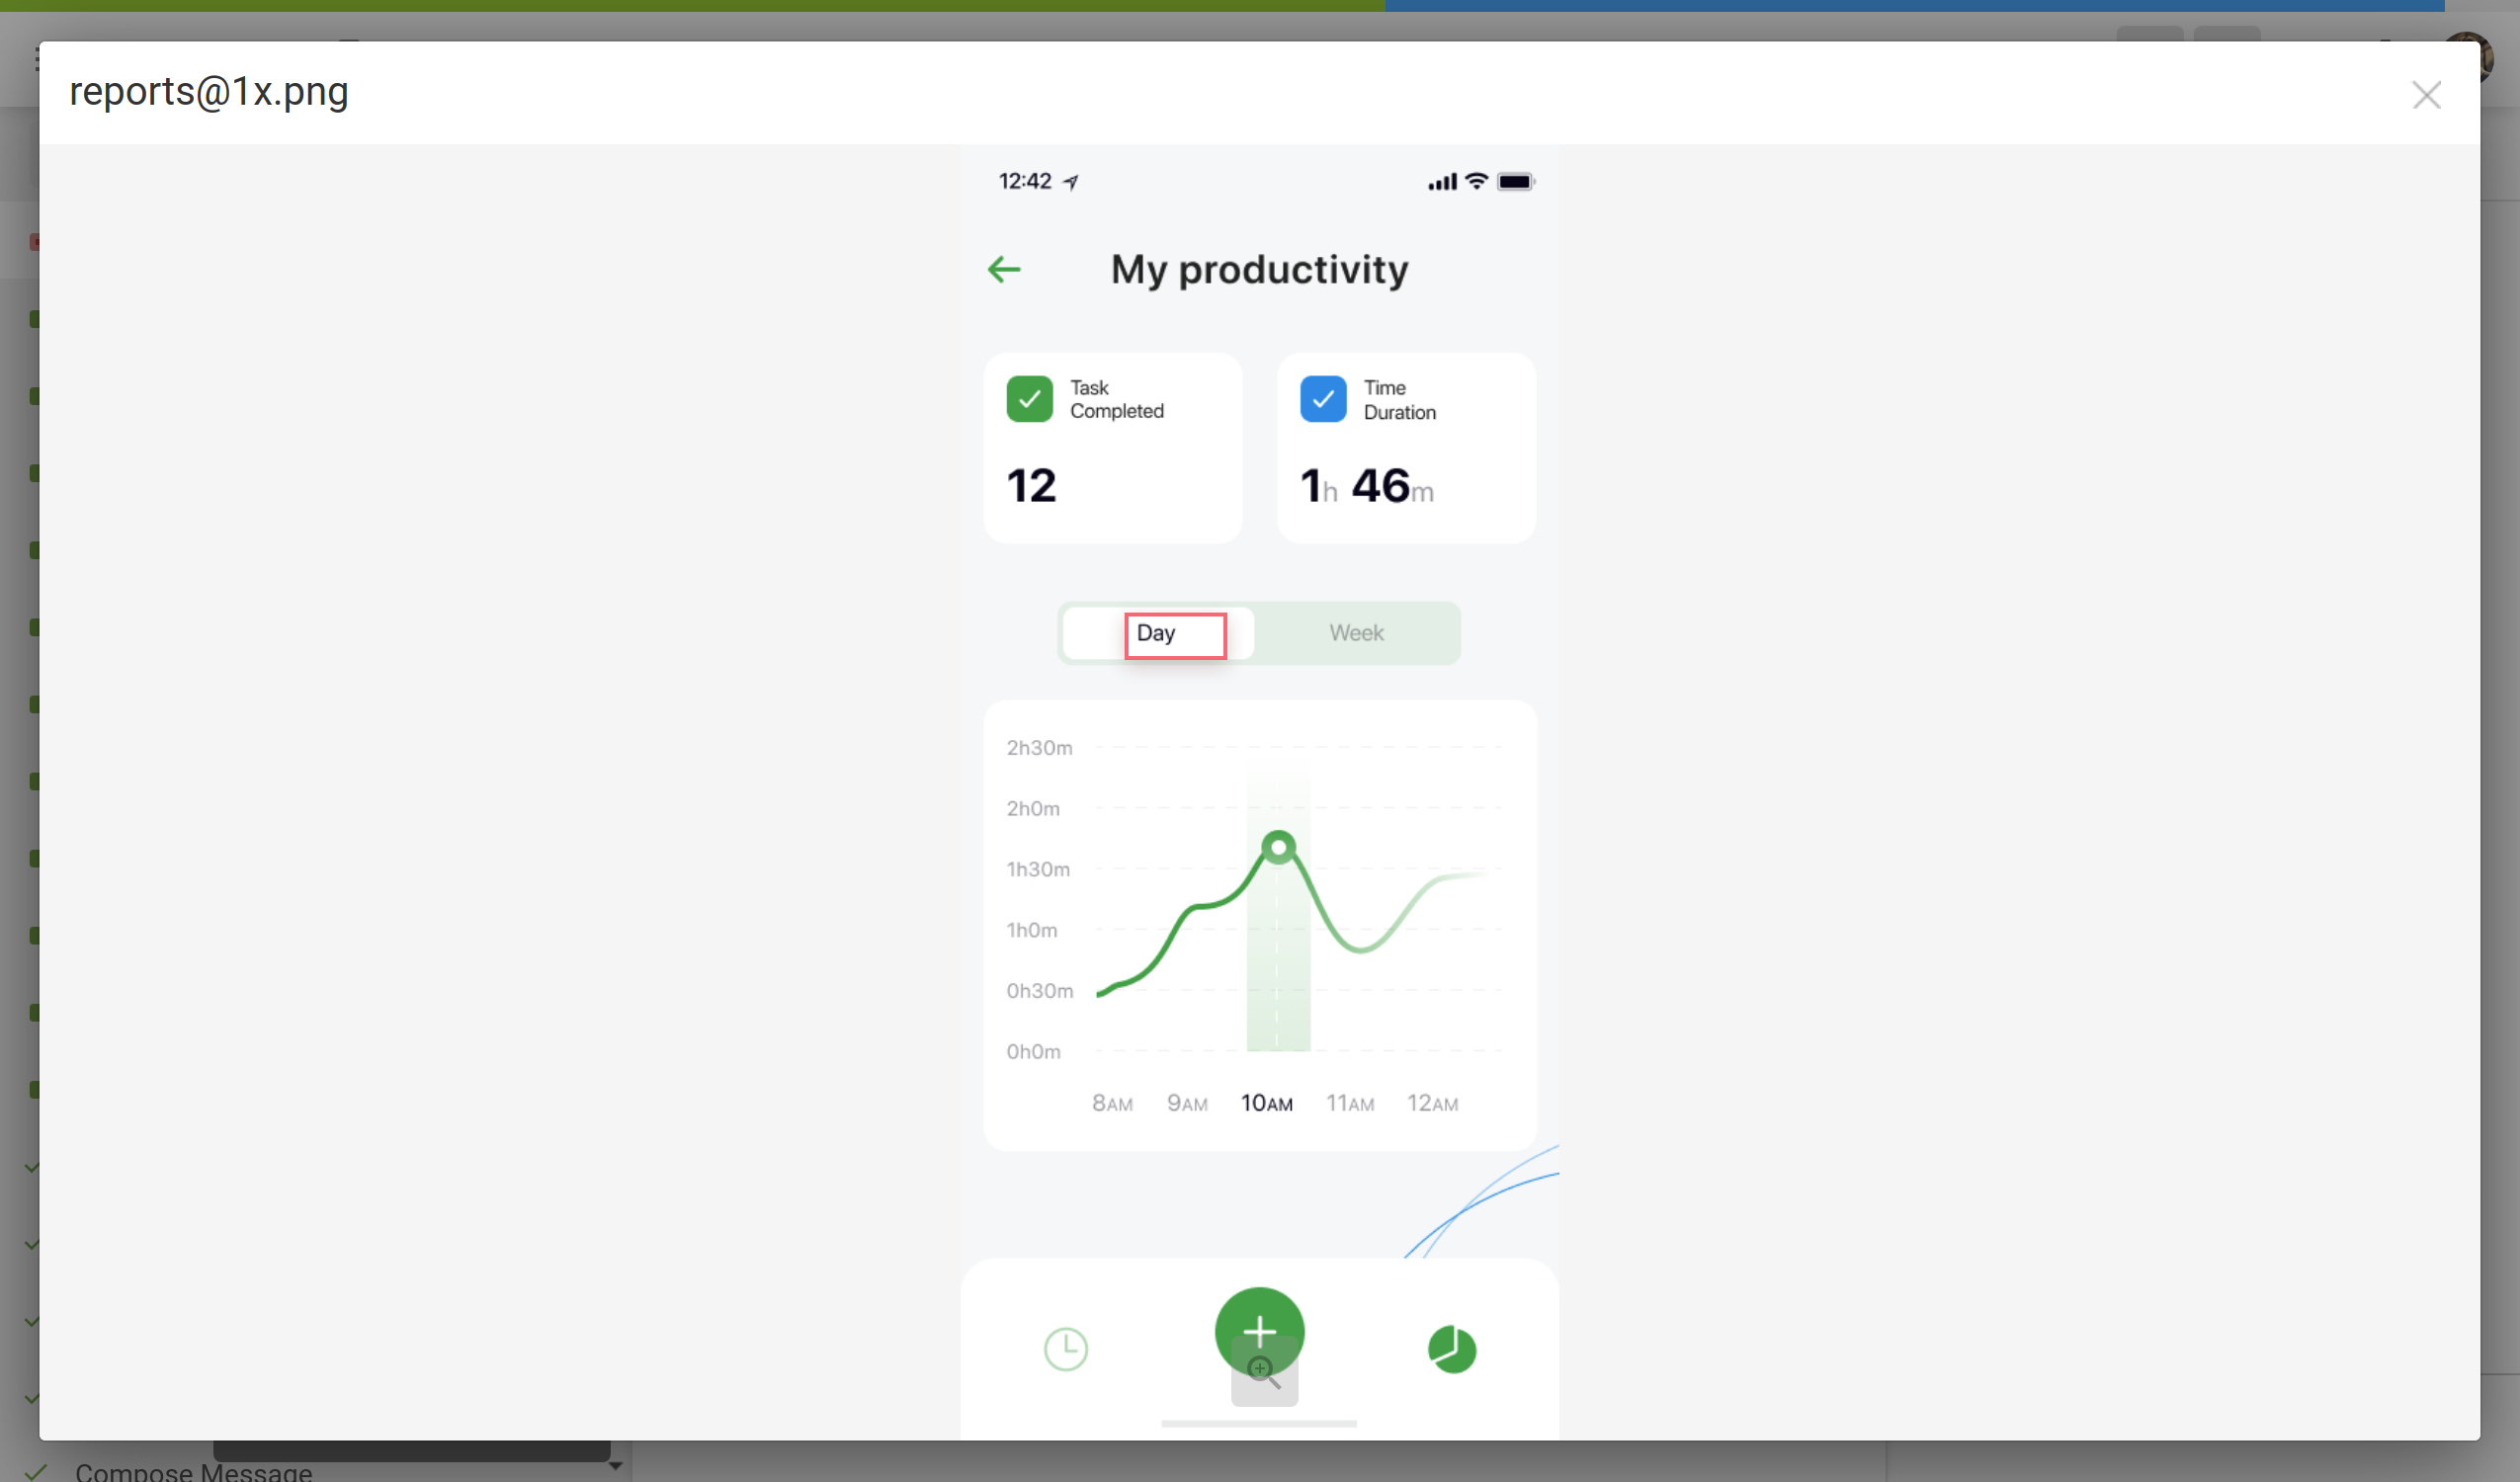
- Open the screenshot with a double-click.
- Click
 .
. - Once the strings are added, click Salvage.
To tag strings automatically on a single screenshot without opening it:
- Click
 on the needed screenshot.
 - Select Machine tag.
You tin also tag strings automatically on multiple screenshots at one time:
- Select multiple screenshots holding Ctrl or Shift.
- Click Auto tag.
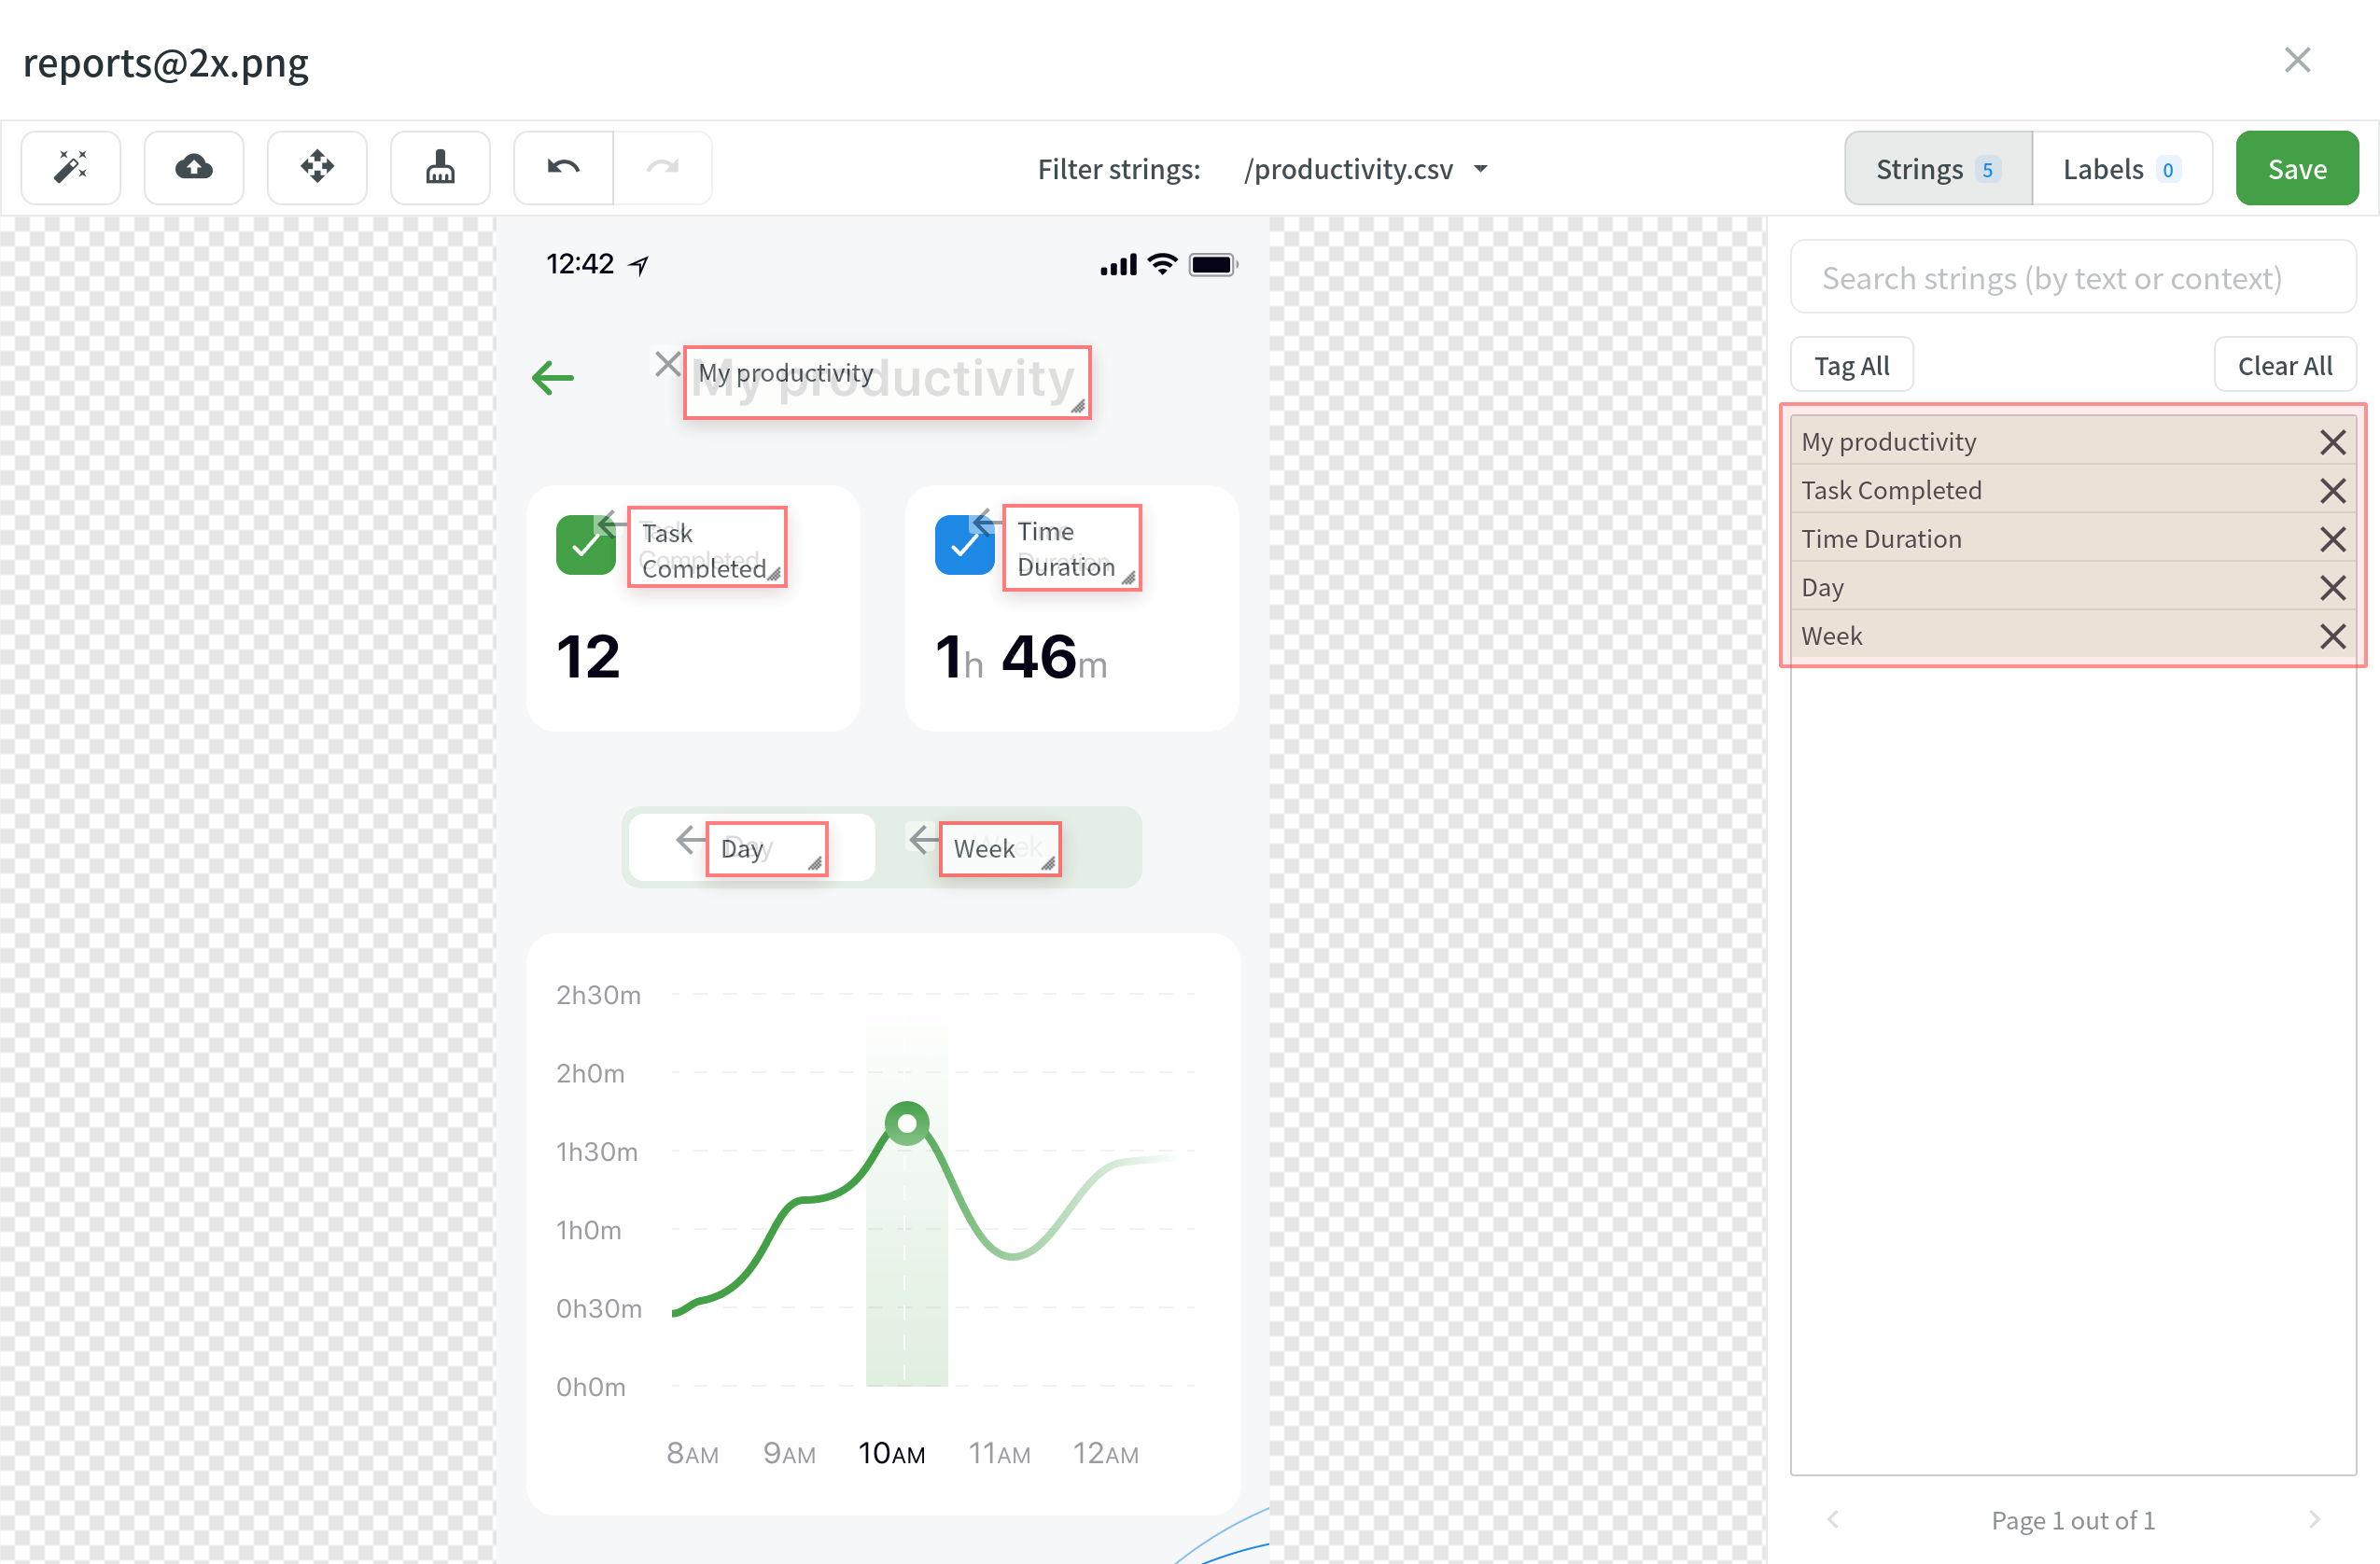
Tag Strings with Text Recognition
The system will search for a cord that matches the text yous select amongst all the strings in your project. If several similar strings are found, you lot will see all of them and be able to select the best matching 1.
- Open the screenshot with a double-click.
- Click
 .
. - Highlight the text on the screenshot.
- Once you tag all the strings, click Salve.
If the ![]() is not agile subsequently yous click on it, the Text recognition feature isn't available for your project'south source linguistic communication.
is not agile subsequently yous click on it, the Text recognition feature isn't available for your project'south source linguistic communication.
Tag Strings Manually
Elevate the listed strings to the text on the screenshot manually.
- Open the screenshot with a double-click.
- Click
 .
. - Sort and filter the listed strings. Y'all tin can select all files or specific ones and search strings past text or context.
- Drag the needed cord to the corresponding text on the screenshot. Alternatively, click on the strings to tag them to the screenshot without specifying the exact place where they should appear.
- Click Save.
To tag all the strings from the selected file to your screenshot, follow these steps:
- Select the file you need.
- Click Tag All > Save.
Labels
Use labels in your project for an easy mode to organize screenshots by certain topics. Once you added labels to your screenshots, you can filter them past added labels. If you already use labels for your source strings, you can also use the aforementioned labels for screenshots.
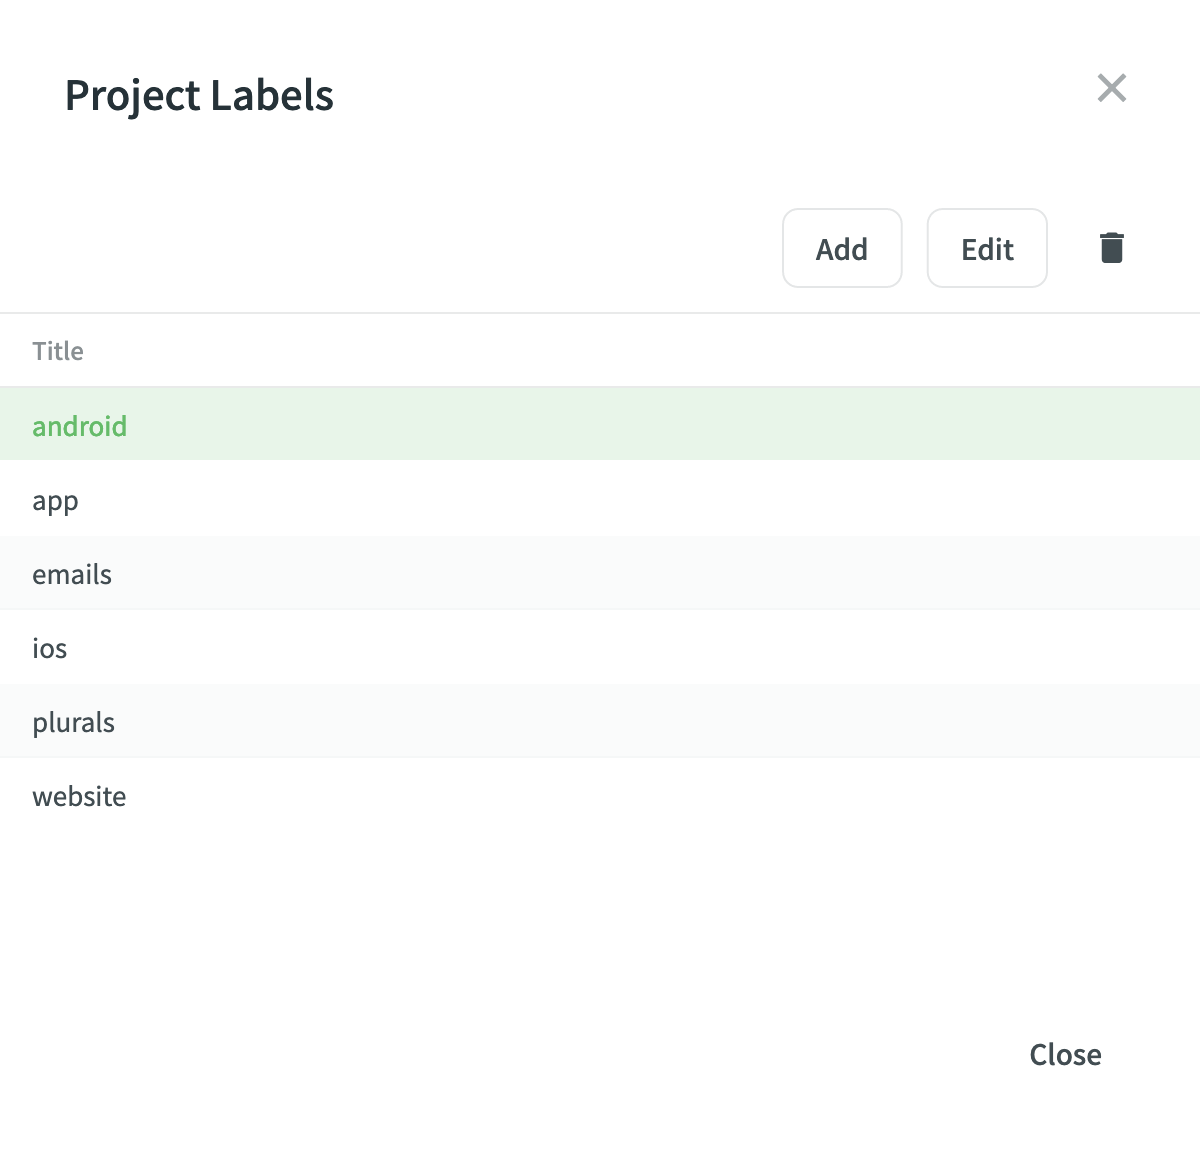
Managing Projection Labels
To create, edit, or remove projection labels, follow these steps:
- Open your projection and go to Content > Screenshots.
- Click the drib-down toggle next to Labels, and select Manage Project Labels.
- In the appeared dialog, add new labels, edit or remove existing ones.
Adding Labels to Screenshots
There are a few possible ways you can add together labels to the screenshots.
- Add together labels to ane screenshot at a time via the same dialog where yous tag strings
- Open the screenshot with a double-click
- Click

- Select needed labels in the Labels field
- Click Salve
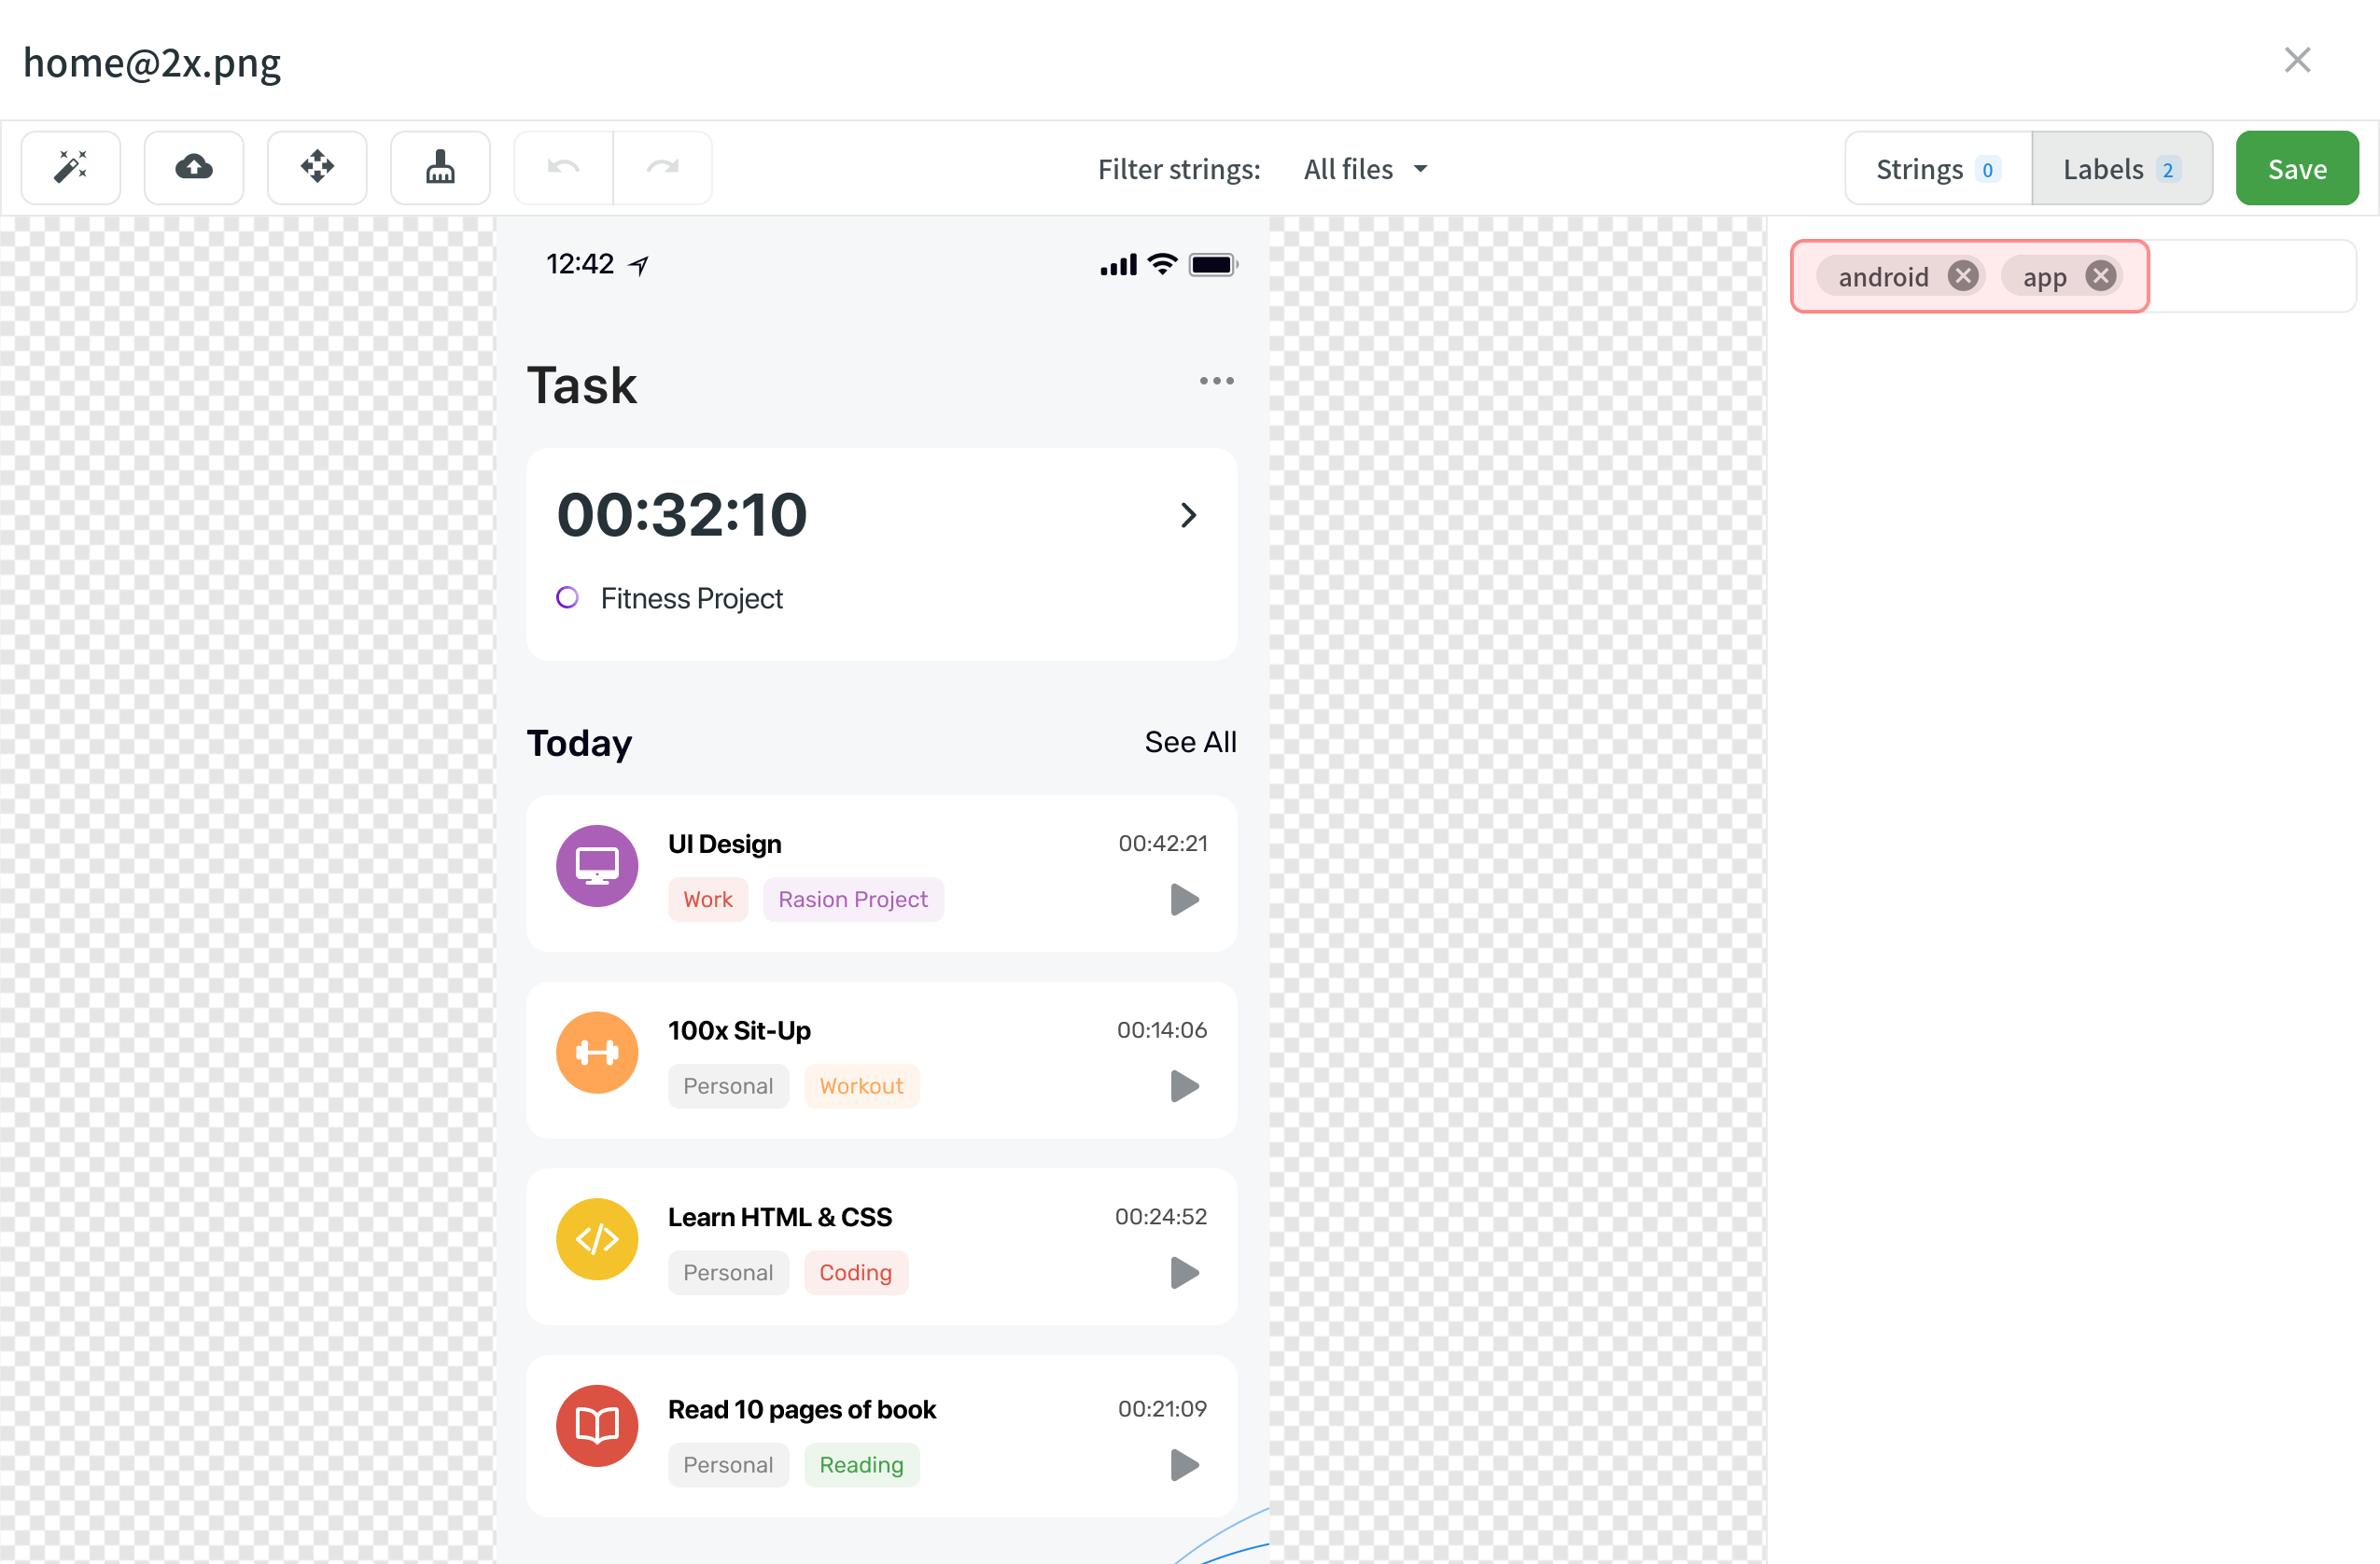
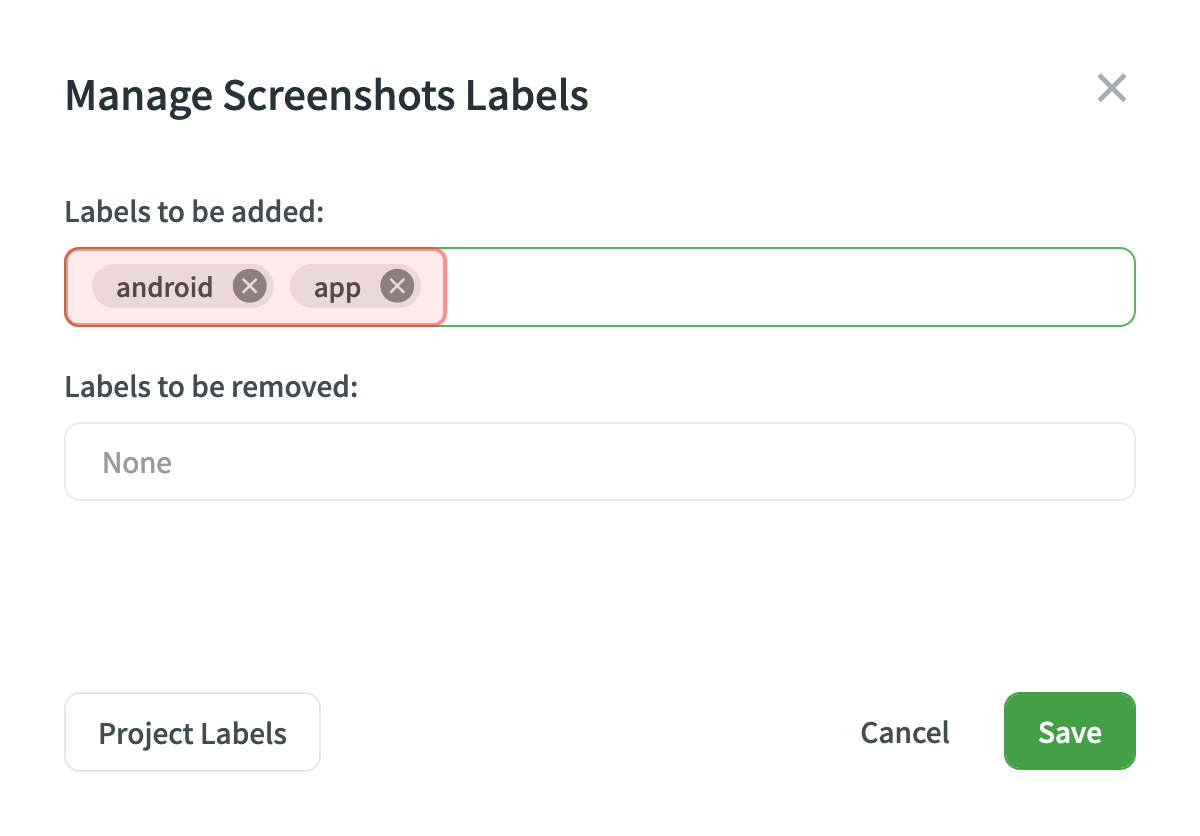
- Add labels to multiple screenshots
- Select multiple screenshots you desire to add the same labels to belongings Ctrl or Shift
- Click Labels
- Select needed labels in the Labels to be added field
- Click Relieve
Update Screenshots
You tin can upload a new screenshot that will supercede the electric current i. The already tagged strings that are relevant would remain tagged. If the text on the screenshot changed its location, strings would remain tagged but on the new locations.
To update the screenshot, follow these steps:
- Open up the screenshot with a double-click.
- Click
 and select a new screenshot from your machine or utilize Drag&Drop.
 - Click Save.
Rename Screenshots
To rename a screenshot, follow these steps:
- Click on the needed screenshot and select Rename.
- Specify a new name.
- Press Enter.
Download Screenshots
You can download screenshots and reuse them in other projects or elsewhere.
To download screenshots, follow these steps:
- Select one or multiple screenshots holding Ctrl or Shift.
- Click Download.
Alternatively, click ![]() on the needed screenshot and select Download.
on the needed screenshot and select Download.
Delete Screenshots
To delete a screenshot, follow these steps:
- Select one or multiple screenshots holding Ctrl or Shift.
- Click Delete screenshot.
Source: https://support.crowdin.com/adding-screenshots/
0 Response to "How to Upload a Screenshot to Gazoo"
Enregistrer un commentaire